How to Set Up, Configure, and Use the WordPress Smart TOC Plugin
The Smart TOC Stylist plugin makes it simple to add a beautifully styled Table of Contents (TOC) to your WordPress site. Follow these steps to install, configure, and start using the plugin.
What is Smart TOC Stylist?
Smart TOC Stylist is a powerful WordPress plugin designed to automatically generate beautiful, fully customizable Tables of Contents for your blog posts, pages, and custom post types. With its easy setup, pre-designed styles, and flexibility, it’s the ultimate tool for improving navigation on your site.
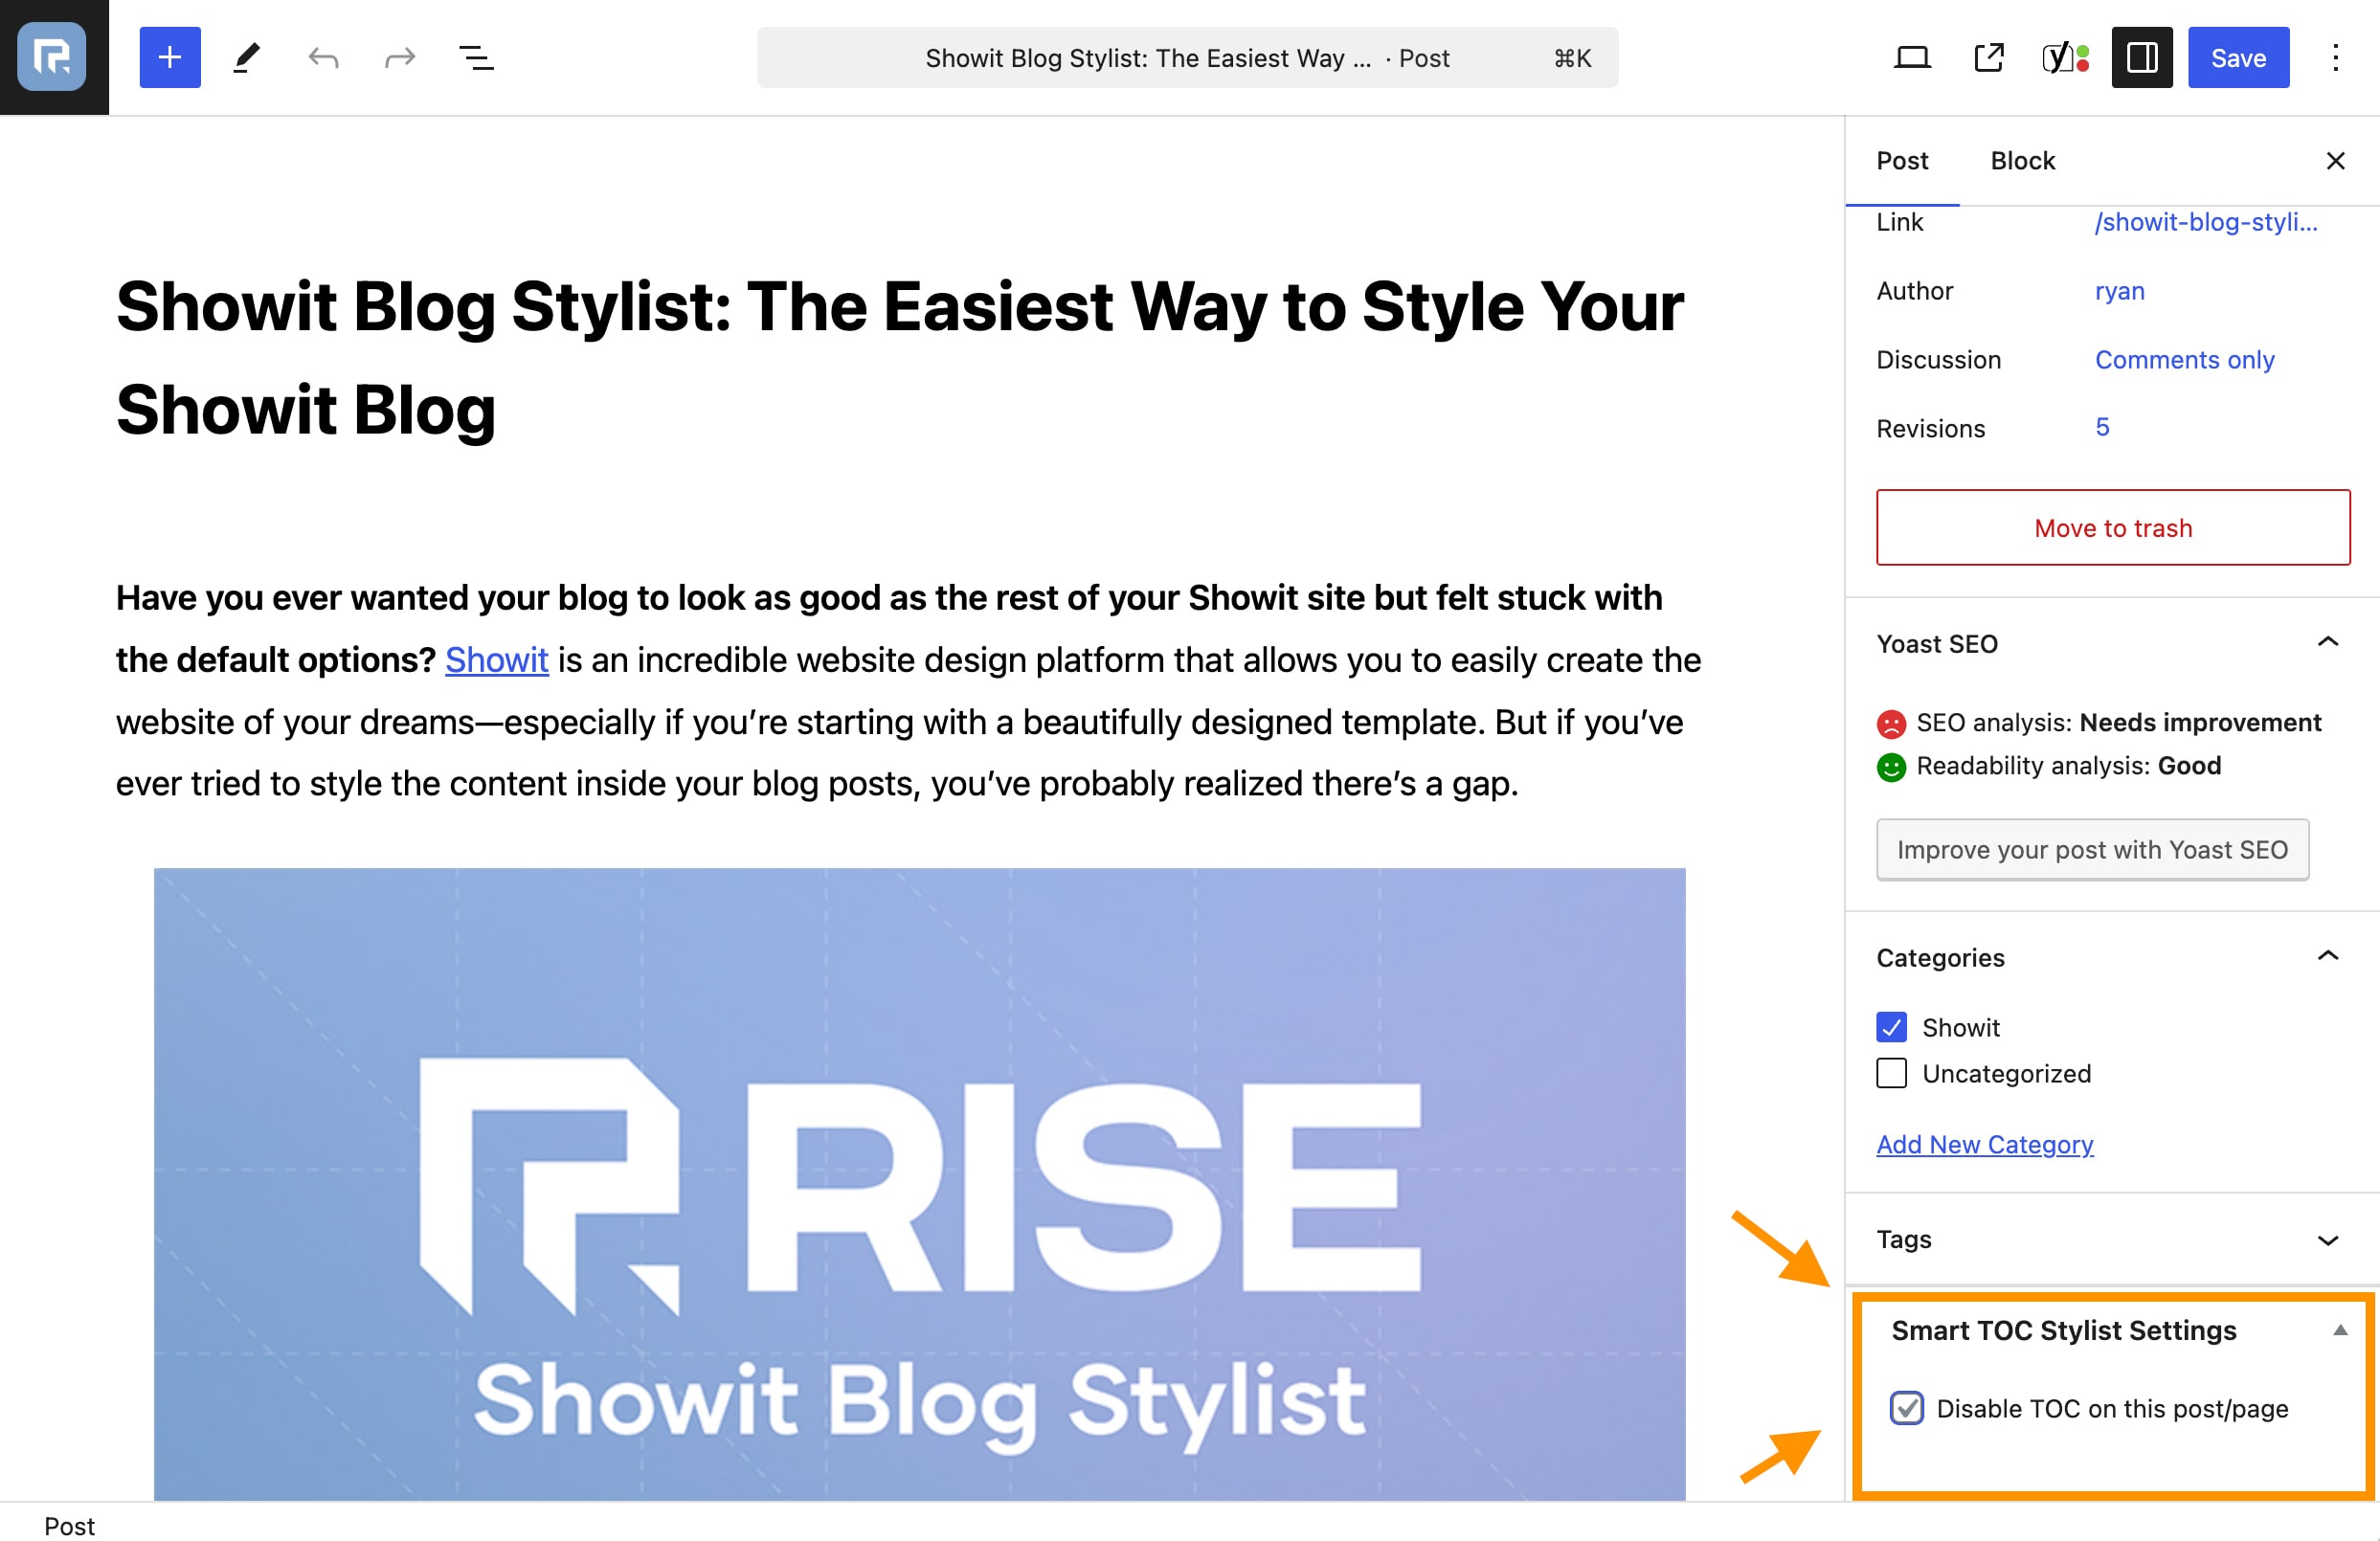
Note: You can use the Disable TOC option in the post or page editor to exclude the TOC for specific content.

Step 1: Downloading the Plugin
To start, download the plugin from your Rise Plugins account:
- Log in to your Rise Plugins Account.
- Go to the Downloads section.
- Click on Smart TOC Stylist to download the
.zipfile to your computer.
Note: The file will remain in .zip format—do not unzip it.
Step 2: Installing the Plugin
Install the plugin on your WordPress site:
- Go to your WordPress Dashboard.
- Navigate to Plugins > Add New.
- Click the Upload Plugin button at the top of the page.
- Choose the
.zipfile you downloaded. - Click Install Now and wait for the installation to complete.
- Once installed, click Activate Plugin.
Step 3: Configuring the Plugin Settings
Enable the TOC
- Go to Settings > Smart TOC Stylist in your WordPress dashboard.
- Toggle the Enable TOC option to activate the plugin on your site.
Set Your TOC Title
Choose a title for your TOC, such as:
- “Table of Contents”
- “What’s Inside”
- “This Post Covers”
Select Your TOC Style
Pick from 3 pre-designed styles to match your site’s branding:
- Minimalist: Clean and simple.
- Modern: Bold and stylish.
- Bullet: A professional look with a border.
Choose Target Headings
Select which headings to include in the TOC:
- Example: H2 for a high-level overview or H2 + H3 for more detailed navigation.
Assign Content Types
Apply the TOC to:
- Blog posts
- Pages
- Custom post types (e.g., products, docs).
Optional: Custom CSS
For advanced users, add custom CSS to further style the TOC to fit your theme perfectly.
Step 4: Viewing Your Table of Contents
Once the plugin is configured:
- Open any blog post, page, or supported custom post type.
- The TOC will automatically appear at the top of your content, styled according to your settings.
Step 5: Customizing Further
Adjusting Heading Levels
- If your TOC needs more detail, add additional heading levels (H3, H4, etc.) from the settings.
- Example:
- H2 Only: Ideal for simplicity and cleanliness.
- H2 + H3: Great for showing a detailed breakdown.
Changing TOC Placement
The plugin automatically adds the TOC above your content. To customize placement, manually insert the shortcode [smart_toc] where you want the TOC to appear.
FAQ: Frequently Asked Questions
Q: What happens if my headings don’t appear in the TOC?
A: Ensure you’ve selected the correct target headings (H2, H3, etc.) in the plugin settings. Also make sure your blog post is using headings. If you don’t use headings, the plugin can’t create your TOC.
Q: Can I use this plugin with custom themes?
A: Yes, the plugin works seamlessly with any WordPress theme.
Q: How can I hide the TOC on specific posts or pages?
A: Use the Disable TOC option in the post or page editor to exclude the TOC for specific content.
Q: Can I customize the TOC beyond the offered styles?
A: Absolutely! Use the Custom CSS option in the settings to apply your own styles.
Tips for Best Results
- Use consistent heading structures (e.g., H2 for sections, H3 for subsections) for a clean TOC layout.
- Test the TOC on a live post to see how it looks with your content.
- Avoid using too many nested headings unless necessary for clarity.
Need Help?
For additional assistance, feel free to contact our support team at support@riseplugins.com.
January 23, 2025
Written by Ryan Moreno